A LITTLE BIT OF EVERYTHING
Day by Day Insights
DIY Kitchen Reno 2021
One of my 2021 Goals was to complete my DIY Reno for @TheAybarKitchen, and I finally completed it this August.
This project (like all the other ones) took longer than I expected. I began prepping for this in March, by May I began the demo and hired contractors to help me with the floors and countertop because I’m only one person, with 1,000 things to do.
I went through so many design ideas before going with a minimalist contemporary + modern farm style design. My kitchen is the reason I moved into this apartment almost 7 years ago and the foundation of The Aybar Kitchen. Although it’s spacious and had potential, for years my kitchen floor has been unleveled and I found out why during the reno.

Inspo Design I

Inspo Design for Tiles

Inspo Design II
This building was first built in The Bronx in 1928 and not only did we discover I have plaster walls behind my drywall. I had four layers of floors under my tiles, not to mention the mold from the poor plumbing under the sink (the smell is horrible - imagine dealing with this for an entire year). I have been trying to get my landlord to take care of these issues since 2018, and if I continued to wait, I’d still be in the before.
Breaking down the design plan for the reno, this is what was done:
Replaced Tiles with Vinyl Plank Floors (Lifeproof-Trail Oak)
Replaced Countertop (Ikea’s Oak effect/laminate - Butcher Block Style)
Plaster + Paint Ceiling
New Subway Wall Tiles (White with Black Grout)
Add Shelves (Use extra countertop slab)
Replace Base Molding (5”1/2)
Electrical: Replaced + Update Light Fixtures + Outlets to Black
- Outlets (Regular)
- Outlets (GFCI)
- USB Port
- Outlet Covers
- Light Switches
- Light Switch CoversPowder Coat Paint Pipe + Stools
Update Faucet + Soap Dispenser
New Kitchen Sink
Paint Walls + Ceiling White
Update Microwave + Stove
I started with the pipes and stools using Rust-oleum Paint + Primer for Metal to spray paint them black. This process is very messy, similar to powder coating, spray painting leaves tiny residue everywhere! I’ve done it a few times when I painted my radiators and renovated the bathroom (see this project here), you spend more time cleaning up after than painting.

I saved myself about $100 repainting the stools, rather than selling them and purchasing new ones.
After this, I still had to wait a few weeks before the contractors I worked with were available, I began the demo by ripping off the tile floor using a crowbar and hammer. There were some areas I left intact (like the stove/fridge) to not have open holes. The underlayment was exposed for about a month before we began work.

When the contractors began we expected to complete the entire project within a week, but after removing the remaining tiles from the floor, under the cabinet, and the wall tiles there was a bigger mold issue at hand. Again, I had over a year of dealing with the mold under the cabinet but was not expecting what I saw.
We discovered Plaster behind my drywall and it was barely holding up behind the sink. The mold damaged the plaster wall from water leaks, and we literally pulled it off with our hands. Plaster is really hard to break through and it hardens more over the years, so this was evidently caused by years of damage and the most recent leak in January 2020 that my landlord never came to repair.
Since we ran across this issue I also discovered another outlet hidden behind my dry wall and ran new wiring and added another outlet on top of the cabinets to hide the under cabinet lights wire and for the microwave range hood.
I had to keep that hole open for an entire weekend and blocked it off with the new floors just in case a rodent wanted to try and pay me a visit.
Once the wall was resealed, we restructured the sink cabinet with thick plywood, which helped save me money by not having to purchase a new one. The countertop was installed, we then cut and laid out the wall tiles, and moved on to painting the cabinets.
First, I primed them with Behr Acrylic Alkyd Enamel Primer before painting them with Behr Cabinet & Trim Enamel Interior Semi-gloss Paint, using a small roller and brush. My good friend Ed at Home Depot on Gunhill (The Bronx), helped me out a lot with the best way to paint them by hand. Originally, I was going to spray paint them with a gun but the gun I borrowed wasn’t working and I had to complete the task manually.

I lightly sanded them down before priming them.
I updated the light fixtures and outlets to black, although one of the GFCI outlets gave me trouble. Getting electrocuted isn’t fun! Please do not attempt this if you’re not certified or trained.
I only replaced two appliances, my small microwave that sat on top of my fridge, for a range hood style microwave, and my stove. I purchased my appliances at PC Richards & Sons. The microwave is a JVM GE Model and my beautiful Kitchenaid Stove, as I mentioned in the video, I was able to get on a deal. I fell in love with it from the minute I saw the double oven and even more when I found it was blue inside! It has a sabbath mode feature (I’m not Jewish but I do practice a 30 Day Sabbatical Fast annually and this is ideal).

KitchenAid 6.0 cu. ft.
Double-oven gas range
+ Self-cleaning system
+ Double Oven
+ Sealed Burners
+ Prep multiple dishes
+ Sabbath Mode
I left painting for last after the appliances and baseboards were installed, I used Behr Primer + Paint Ultra Pure White for both walls and the ceiling, two coats to cover and complete. Please be advised painting a ceiling is way harder than it appears, but an awesome upper body workout too. I was able to install shelves using some of the countertops that were leftover and added handles to the cabinets.
Finally, one of the last esthetics that revamped the entire kitchen was moving the fridge to the opposite wall facing the window. I host a lot of events, and the kitchen is where everyone gathers while meals are being prepped. Having the fridge right next to the sink was uncomfortable and was in the way, now in its new location is opens the room for people to stand freely without having to move out of the way.
During the process, I got asked (a lot) why I invested in this project when I don’t own the property? I provide a service out of my kitchen and even if it’s a private setting, I’m accountable for abiding by state laws when it comes to Food Service. I’ve worked in various commercial kitchens and food safety and cooking ethics are a priority. This Kitchen also serves as a Lab where I teach my interns how to cook, etc. Plus who wants to eat at a restaurant with an unattractive kitchen setting?


I’m super ecstatic with my new renovated Kitchen and was able to test it for a private wedding we hosted at Parkside Place just a day after completing reno the first week of August. This private event really put us on a deadline to finalize the project, and it was also a success (I’ll be sharing a blog about that event soon). In total, I spent around $800 in materials to revamp the kitchen, the full project cost me $3,000-$3,500.
I really have to thank my Dad, who’s been a Superintendent since I was 3 years old. I learned and mastered a lot of my handy woman skills from him, from locksmith to plaster and paint, carpentry, electrical, plumbing and more.
We’ll be reopening The Aybar Experience with Invites only for Aybar VIP Clients and Members at The Aybar Kitchen.
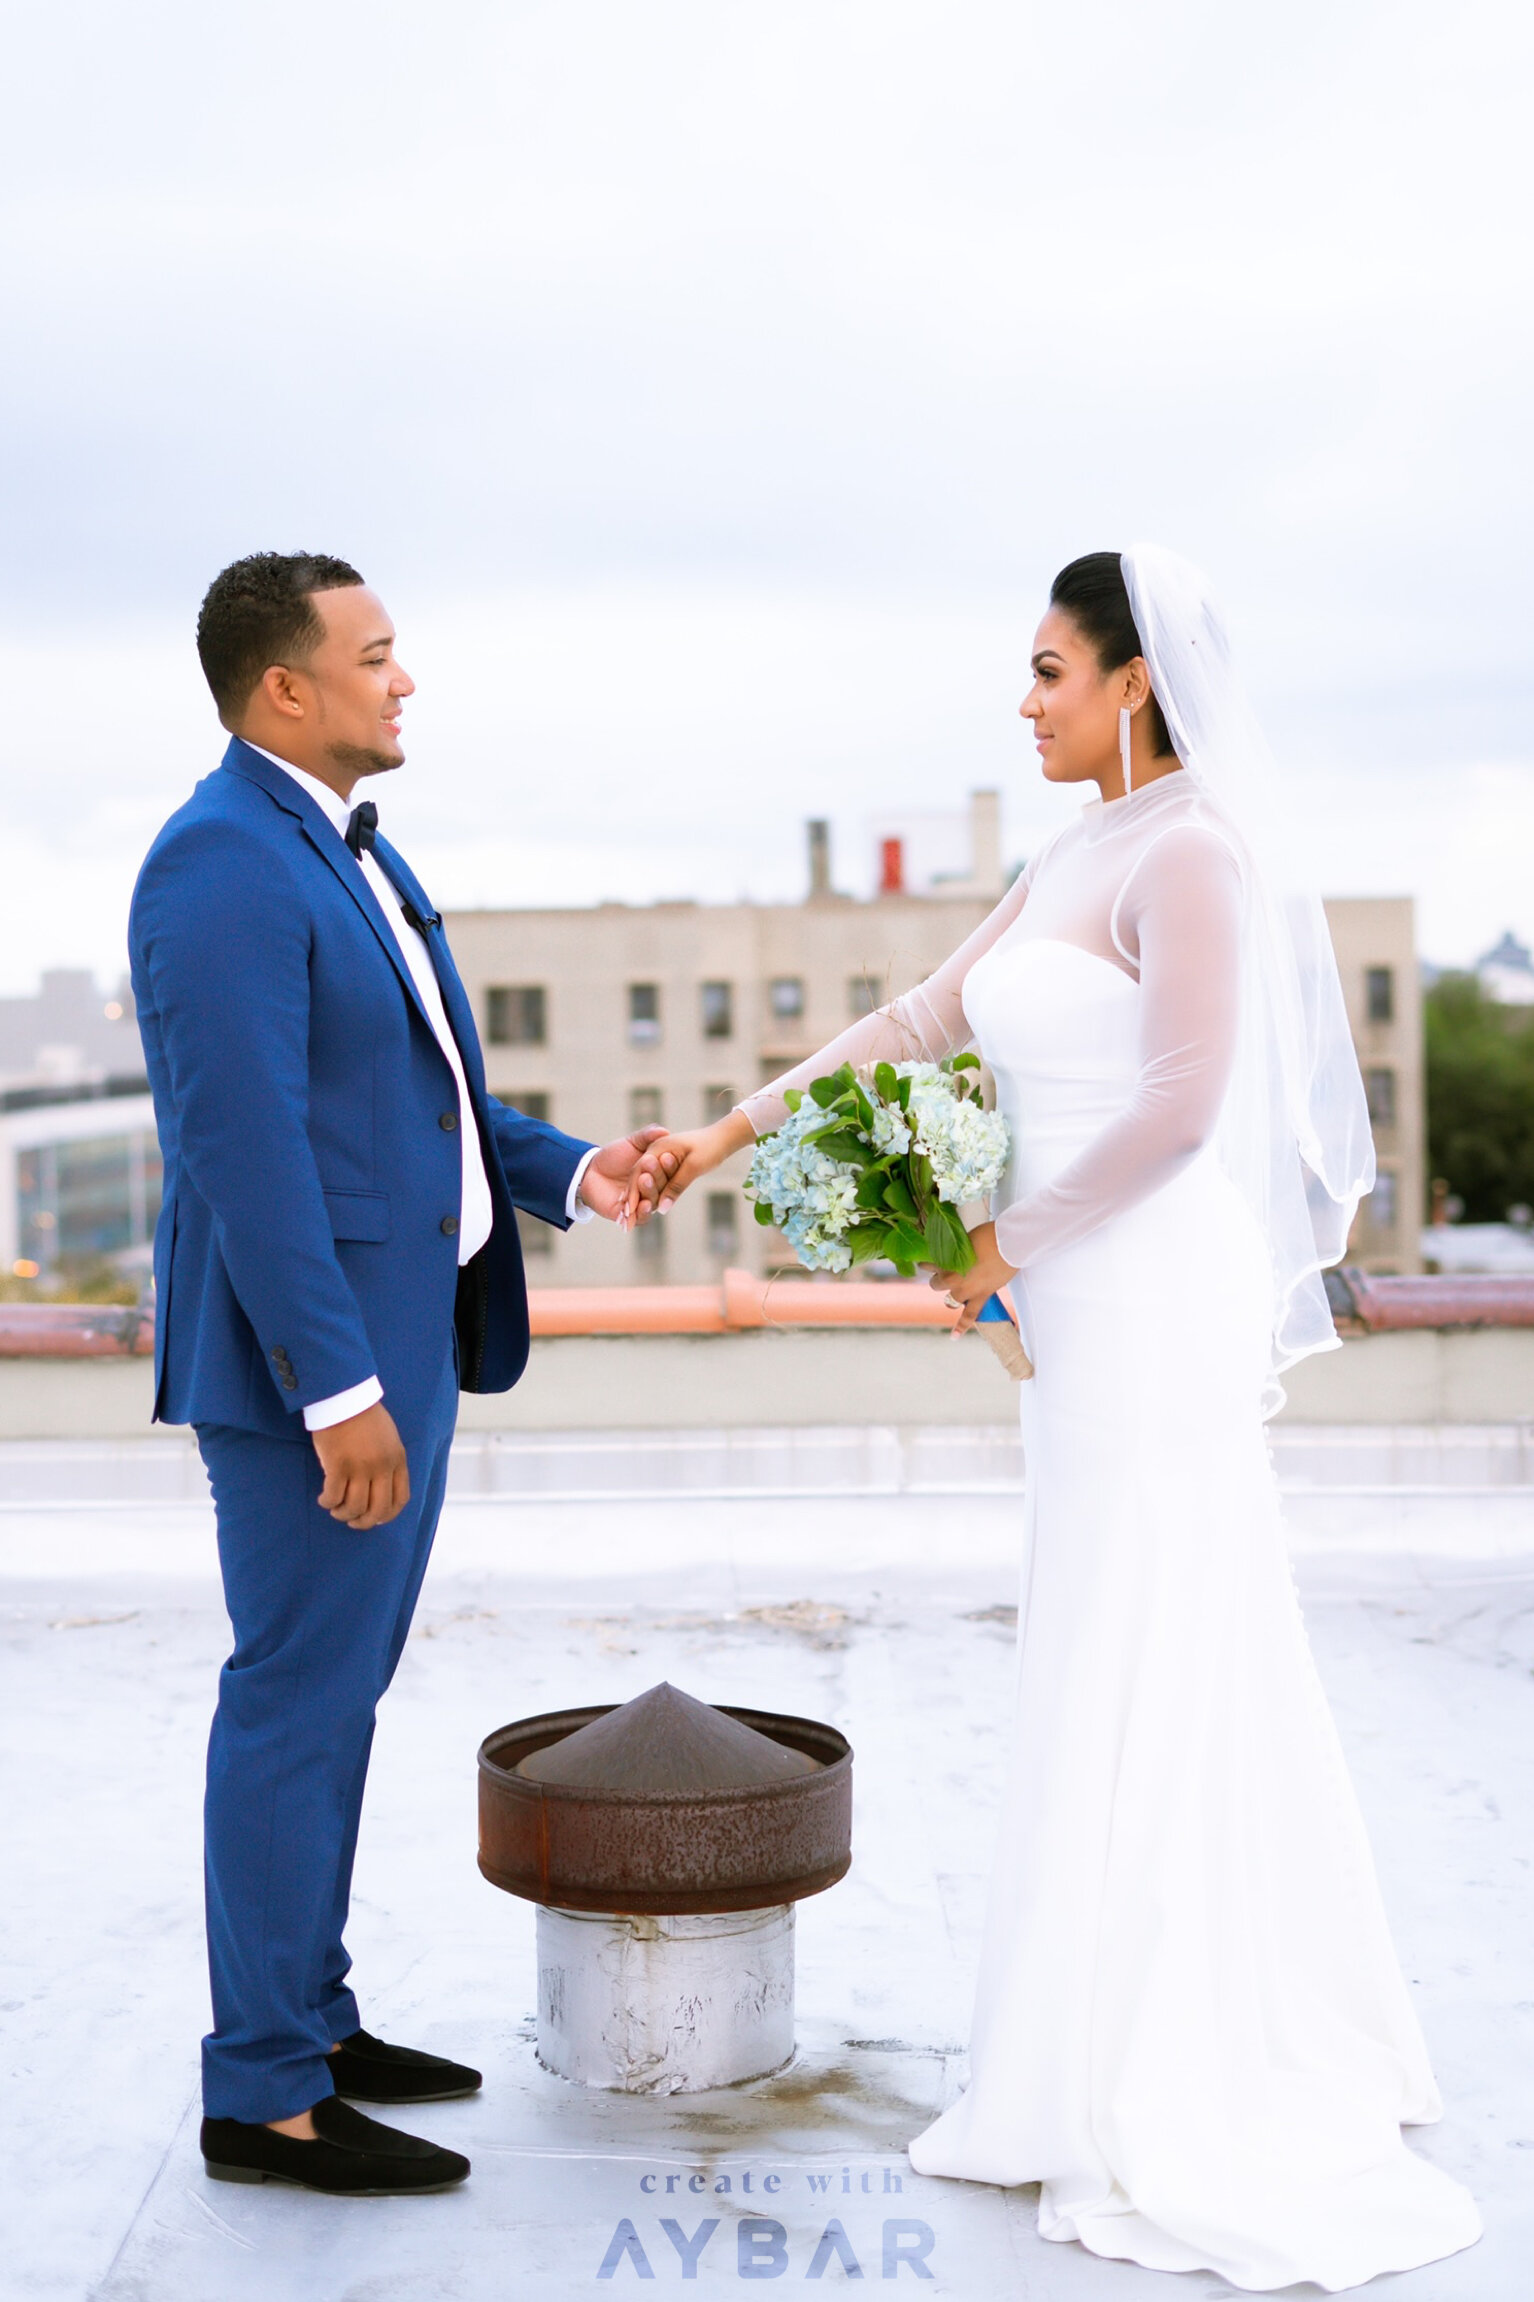
Prince Wedding at Parkside Place
Last month, 3 days into my 30-Day Fast, I had a consultation with a new client and was challenged in my event coordinating expertise to a COVID Wedding. 😎
With City Hall being closed, the limited options are virtual or small ceremonies for couples. My client requested a small ceremony and asked me to take care of LITERALLY everything, and this how my team and I took the mission to @ChangeYourSetting at @ParksidePlaceNYC.


Originally, I had planned the wedding on the roof, but then thought of all the liability and went with plan b in case of inclement weather. Honestly, my close friends & family were really intrigued to see how I was going to pull this one off because I have a lot of crazy ideas but this was over the top. 😂
My goal was to make this an unforgettable and extraordinary wedding for them! 👰🏻💒🤵🏾

Special Thank you to our Bronx local vendors and Officiant:
@BronxCakes @Partopia & Once Upon a Vow
Special Thank you to our amazing
Photographer + Videographer:
@MrVisual18
Most importantly, I couldn’t do this without my team, Interns from High Schools in the Tri-State area & the graduating 🎓Class of 2021.
They assisted with set-up, hosting, and catered the entire event!
Literally, Everything (is) AYBAR! Just raise it higher and keep growing. It’s amazing to see what God challenges one to do during a Fast and having to maintain in the Spirit. I didn’t get to toast & celebrate with them, and the time pressure & dress stress were tempting, but Anything is Possible … even a Beautiful Wedding in The Bronx! It’s all about self-discipline.
I STILL can’t believe I pulled this off. 😩😎 I think this one might top off as one of my craziest ideas.
Congratulations once again to the newlyweds
Mr & Mrs. Prince, may God bless the fruit of your marriage.
Written by Linda Aybar
Founder + CEO of Everything Aybar